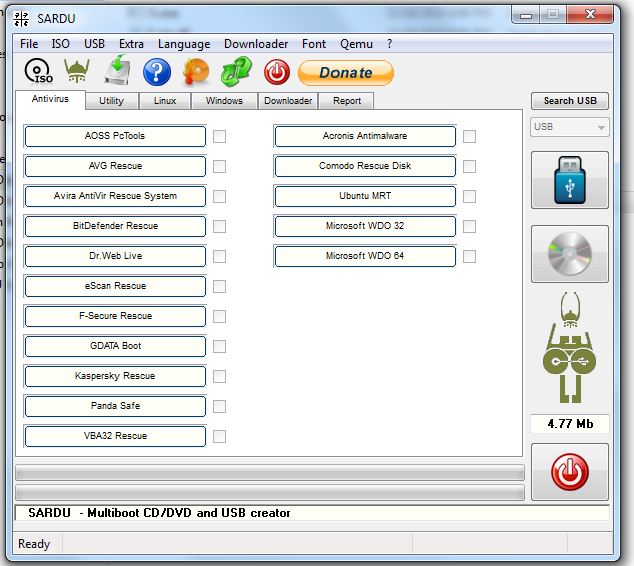
Creating one is rather simple, and you're going to need the two programs above.
1) RMPrepUSB
2) SARDU
RMPrepUSB is the piece of software which prepares your USB Drive to be bootable, and SARDU adds the ISO files which contains the things you need on your USB stick.
After downloading both of them, we start by running RMPrepUSB. The settings in RMPrepUSB should be like the ones in the picture above.
After you selected these settings, click Prepare Drive and wait. Note that your drive will be wiped, so if you have anything important on the drive, make sure you get rid of them beforehand.

Click the button which says ISO, and navigate to the folder where all the ISO files you want to add your usb stick are. (gather all the ISOs you want in one folder if you haven't done that yet)
Now you're ready to make your multiboot USB stick! Click the USB button on the right hand side, and wait until SARDU is done preparing your USB. (If SARDU has problems detecting your USB stick, use the Search USB button first)
And we're done! Now you have a multiboot USB stick with all the emergency system tools instead of having different CDs for them. When you're using the stick, make sure that your USB is the first boot option instead of your hard drives, cause then it's not going to work.
I hope this tutorial helped you, see you next time!


0 comments:
Post a Comment